
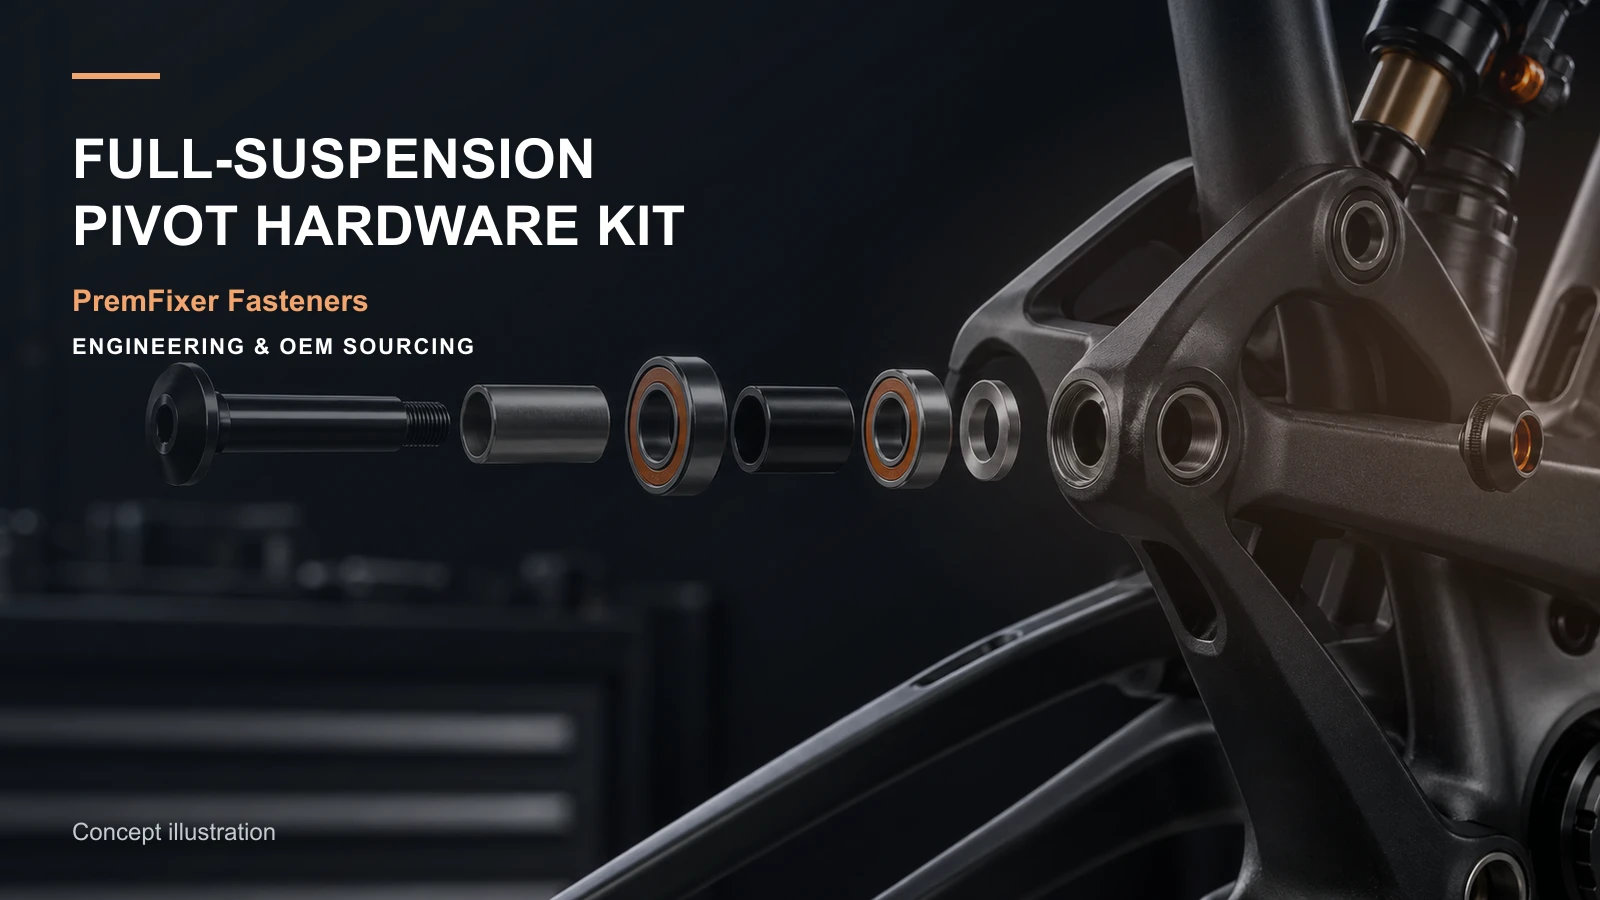
A full-suspension frame does not use a collection of unrelated bolts. Main pivots, rocker links, seatstay joints and shock mounts each have a stack of bearings, sleeves, shoulders, threads and access constraints that must work as one system.
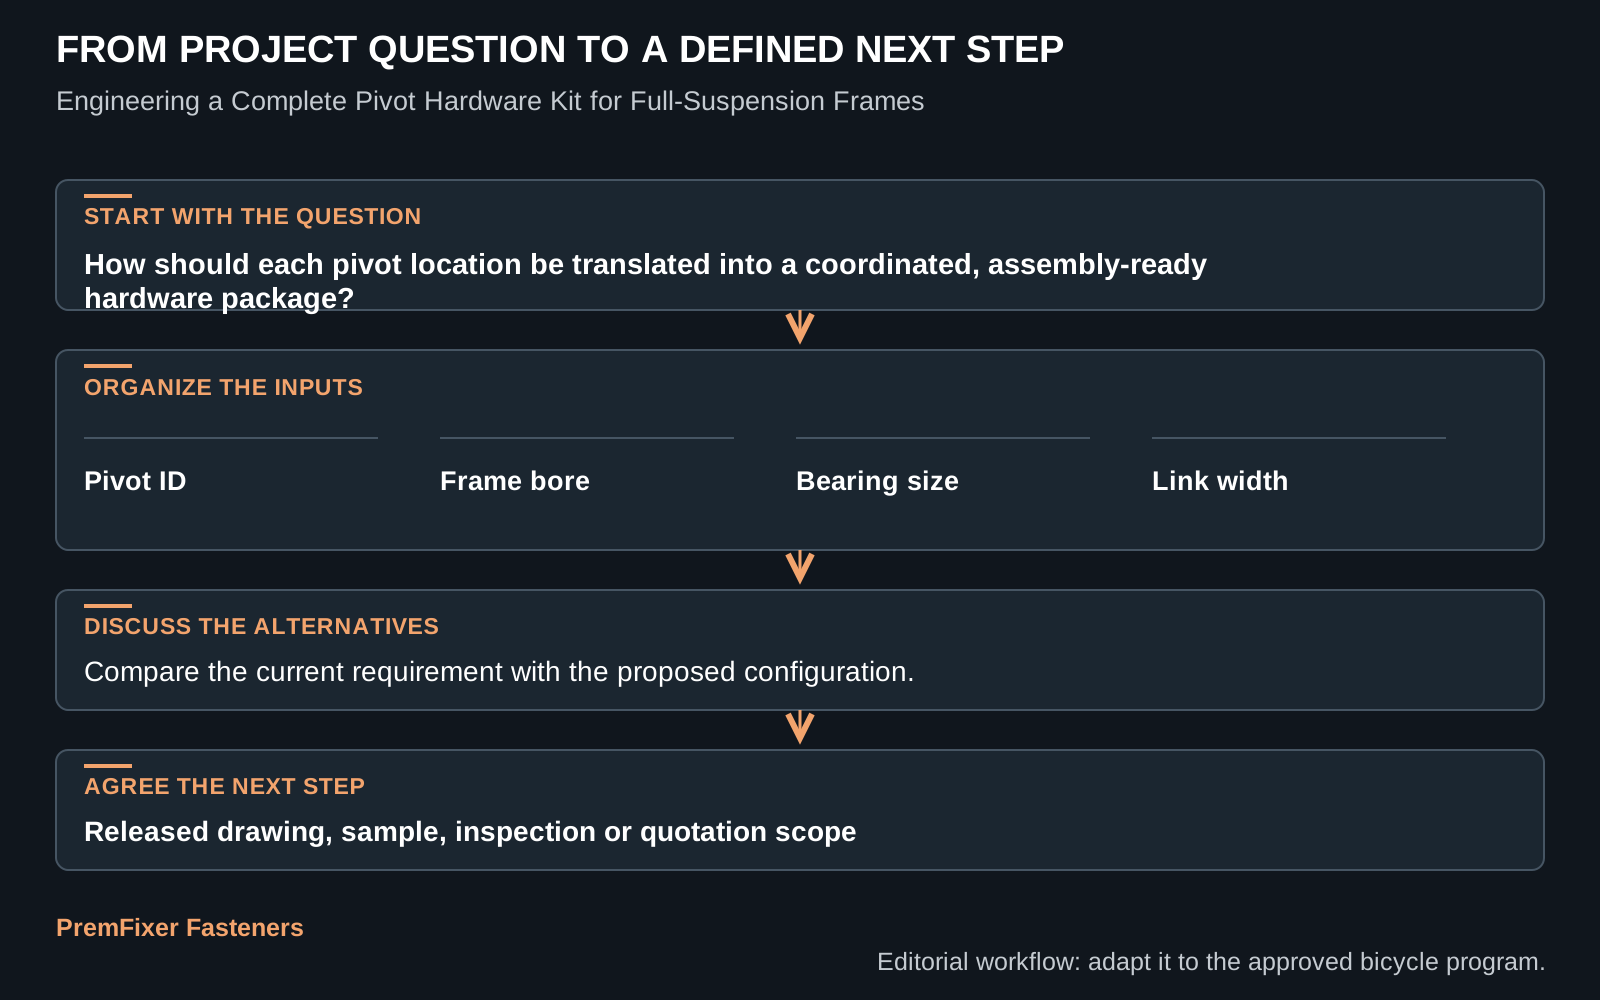
Mountain-bike frame engineers, linkage designers and OEM sourcing teams should begin with one practical question: How should each pivot location be translated into a coordinated, assembly-ready hardware package? The answer depends on pivot location, bearing stack, axle and sleeve and locking method, not on a single headline property. This guide turns that question into six review stages that can support a drawing update, sample plan or comparable RFQ.
The full-suspension pivot hardware kit examples below are specification tools rather than universal pass or fail rules. Use them to expose interfaces, process assumptions and delivery responsibilities, then confirm the final requirement against the actual bicycle platform and approved component definition.
Map the pivot locations and their roles
Identify main pivot, rocker, seatstay, chainstay and shock-mount joints with their motion and access. Number every joint and record its motion, access and service role. This part of the review belongs to a full-suspension frame and its complete pivot hardware system, so the requirement should be written around the component and joint rather than around a material or machine label.
Build the working record around Pivot ID, Frame bore, Bearing size and Link width. Read those fields together: one value can change the meaning of the others, especially after machining, finishing or assembly. The useful output is a frame pivot-location register, with the current condition, proposed condition and unresolved points visible on the same page.
During concept review, apply map the pivot locations and their roles to a real part revision and one representative assembly condition. The design engineer needs the functional reason, while purchasing needs the supplied scope and revision identity. For full-suspension pivot hardware kit, define the sample question before parts are made, then keep the observation with the drawing, material state and inspection record instead of turning it into a general claim.
Do not reuse a pivot component across frame locations or models until the interfaces and structural validation support the change. To close map the pivot locations and their roles, name the responsible owner and the evidence needed for the next release. That may be an updated drawing, mating-part check, process trial, finish coupon, dimensional report, packaging sample or revised quotation, depending on this pivot hardware kit decision.
Define axles, sleeves and locking parts
Assign the locating, clamping, spacing, retention and service functions across the component set. Map axles, sleeves, spacers, caps, washers and locking parts to each location. This part of the review belongs to a full-suspension frame and its complete pivot hardware system, so the requirement should be written around the component and joint rather than around a material or machine label.
Build the working record around Bearing size, Link width, Axle geometry and Sleeve length. Read those fields together: one value can change the meaning of the others, especially after machining, finishing or assembly. The useful output is a component-role matrix, with the current condition, proposed condition and unresolved points visible on the same page.
At drawing release, apply define axles, sleeves and locking parts to a real part revision and one representative assembly condition. Manufacturing needs an achievable route, and quality needs a measurement or acceptance method tied to the same feature. For full-suspension pivot hardware kit, define the sample question before parts are made, then keep the observation with the drawing, material state and inspection record instead of turning it into a general claim.
Do not reuse a pivot component across frame locations or models until the interfaces and structural validation support the change. To close define axles, sleeves and locking parts, name the responsible owner and the evidence needed for the next release. That may be an updated drawing, mating-part check, process trial, finish coupon, dimensional report, packaging sample or revised quotation, depending on this pivot hardware kit decision.
| Review stage | Decision | Inputs to connect | Controlled output |
|---|---|---|---|
| 01 | Map the pivot locations and their roles | Pivot ID / Frame bore / Bearing size / Link width | a frame pivot-location register |
| 02 | Define axles, sleeves and locking parts | Bearing size / Link width / Axle geometry / Sleeve length | a component-role matrix |
| 03 | Build the interfaces and assembly dimensions | Axle geometry / Sleeve length / Thread receiver / Locking feature | an assembly-stack definition |
| 04 | Plan manufacturing by component | Thread receiver / Locking feature / Assembly side / Service access | a kit manufacturing route map |
| 05 | Coordinate finish and assembly | Assembly side / Service access / Pivot ID / Frame bore | a pivot-kit assembly instruction |
| 06 | Release a complete hardware definition | Pivot ID / Frame bore / Bearing size / Link width | an OEM-ready pivot hardware package |
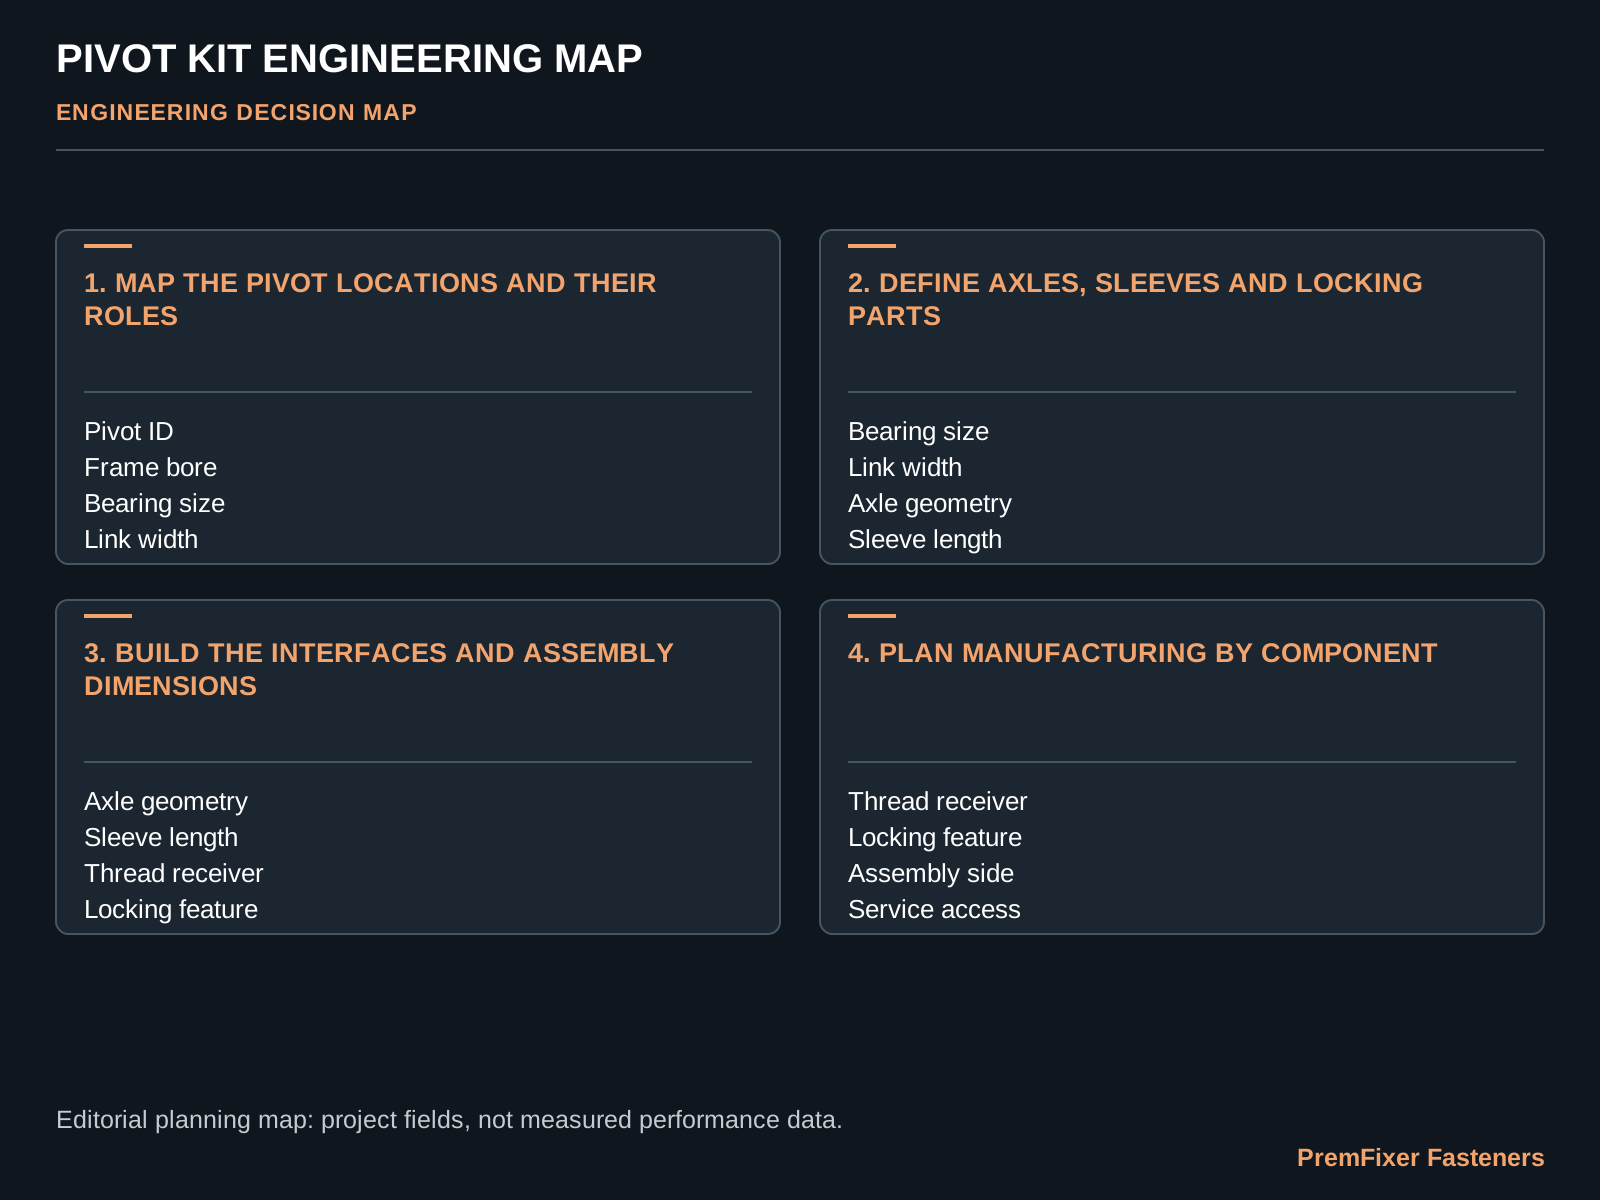
Build the interfaces and assembly dimensions
Connect bearings, bushings, frame bores, link widths, shoulders, gaps and clamp faces into one stack. Build the interface and assembly stack before dimensioning isolated components. This part of the review belongs to a full-suspension frame and its complete pivot hardware system, so the requirement should be written around the component and joint rather than around a material or machine label.
Build the working record around Axle geometry, Sleeve length, Thread receiver and Locking feature. Read those fields together: one value can change the meaning of the others, especially after machining, finishing or assembly. The useful output is an assembly-stack definition, with the current condition, proposed condition and unresolved points visible on the same page.
When the first sample is inspected, apply build the interfaces and assembly dimensions to a real part revision and one representative assembly condition. A sample is useful when the team states what it is meant to confirm and records the result against the released definition. For full-suspension pivot hardware kit, define the sample question before parts are made, then keep the observation with the drawing, material state and inspection record instead of turning it into a general claim.
Do not reuse a pivot component across frame locations or models until the interfaces and structural validation support the change. To close build the interfaces and assembly dimensions, name the responsible owner and the evidence needed for the next release. That may be an updated drawing, mating-part check, process trial, finish coupon, dimensional report, packaging sample or revised quotation, depending on this pivot hardware kit decision.
Plan manufacturing by component
Select material, operation route, datums and inspection priorities for each axle, sleeve, cap and screw. Route each part according to its geometry, material, finish and critical features. This part of the review belongs to a full-suspension frame and its complete pivot hardware system, so the requirement should be written around the component and joint rather than around a material or machine label.
Build the working record around Thread receiver, Locking feature, Assembly side and Service access. Read those fields together: one value can change the meaning of the others, especially after machining, finishing or assembly. The useful output is a kit manufacturing route map, with the current condition, proposed condition and unresolved points visible on the same page.
Before a pilot lot is approved, apply plan manufacturing by component to a real part revision and one representative assembly condition. The buyer should distinguish a proposal from an approved requirement so that cost and lead-time assumptions remain visible. For full-suspension pivot hardware kit, define the sample question before parts are made, then keep the observation with the drawing, material state and inspection record instead of turning it into a general claim.
Do not reuse a pivot component across frame locations or models until the interfaces and structural validation support the change. To close plan manufacturing by component, name the responsible owner and the evidence needed for the next release. That may be an updated drawing, mating-part check, process trial, finish coupon, dimensional report, packaging sample or revised quotation, depending on this pivot hardware kit decision.
Coordinate finish and assembly
Define coated and contact zones, lubrication, locking method, tool access, installation order and service removal. Coordinate finish zones, installation sequence, tools and maintenance access. This part of the review belongs to a full-suspension frame and its complete pivot hardware system, so the requirement should be written around the component and joint rather than around a material or machine label.
Build the working record around Assembly side, Service access, Pivot ID and Frame bore. Read those fields together: one value can change the meaning of the others, especially after machining, finishing or assembly. The useful output is a pivot-kit assembly instruction, with the current condition, proposed condition and unresolved points visible on the same page.
When repeat production is planned, apply coordinate finish and assembly to a real part revision and one representative assembly condition. Production planning becomes clearer when change points, owners and required records are named before the order is released. For full-suspension pivot hardware kit, define the sample question before parts are made, then keep the observation with the drawing, material state and inspection record instead of turning it into a general claim.
Do not reuse a pivot component across frame locations or models until the interfaces and structural validation support the change. To close coordinate finish and assembly, name the responsible owner and the evidence needed for the next release. That may be an updated drawing, mating-part check, process trial, finish coupon, dimensional report, packaging sample or revised quotation, depending on this pivot hardware kit decision.
Release a complete hardware definition
Tie individual drawings, BOM quantities, revisions, inspection records, labels and kit packaging together. Release the drawings and BOM as a complete hardware definition. This part of the review belongs to a full-suspension frame and its complete pivot hardware system, so the requirement should be written around the component and joint rather than around a material or machine label.
Build the working record around Pivot ID, Frame bore, Bearing size and Link width. Read those fields together: one value can change the meaning of the others, especially after machining, finishing or assembly. The useful output is an OEM-ready pivot hardware package, with the current condition, proposed condition and unresolved points visible on the same page.
At the RFQ and supplier handover, apply release a complete hardware definition to a real part revision and one representative assembly condition. A quotation is comparable only when each supplier is working from the same geometry, material, finish, quantity and delivery boundary. For full-suspension pivot hardware kit, define the sample question before parts are made, then keep the observation with the drawing, material state and inspection record instead of turning it into a general claim.
Do not reuse a pivot component across frame locations or models until the interfaces and structural validation support the change. To close release a complete hardware definition, name the responsible owner and the evidence needed for the next release. That may be an updated drawing, mating-part check, process trial, finish coupon, dimensional report, packaging sample or revised quotation, depending on this pivot hardware kit decision.
Questions buyers ask
When should a team review full-suspension pivot hardware kit?
Start before the drawing, material, finish or supply plan is locked. Bring the current revision and the decision that must be made next. Early review is most useful when the team can still adjust the part definition without disrupting released production.
What should be included in the first RFQ?
Provide the frame and linkage models, pivot map, bearing and bushing specifications, assembly stack, torque and locking concept, finish, BOM and service requirements. Mark any item that is provisional, and state who will approve the final configuration. A supplier can then separate confirmed requirements from questions that need engineering review.
Can a sample approve the full production program?
A sample can answer defined questions about fit, appearance, machining or documentation. Production release still needs the agreed configuration, process controls, inspection scope and change rules for the intended quantity.
Which details usually change the quotation most?
For full-suspension pivot hardware kit, the strongest cost and schedule drivers are normally the geometry, material condition, finishing route, inspection depth, order quantity and delivered scope. Compare quotations only after those items are aligned.
What can PremFixer prepare after the review?
The review can produce a pivot-location map, coordinated component definitions, interface stack, manufacturing route and complete-kit BOM. The handover should identify the revision reviewed, what is included in the manufacturing scope and which decisions remain with the bicycle OEM.
Turn the Pivot Hardware Kit Question into a Controlled RFQ
The review can produce a pivot-location map, coordinated component definitions, interface stack, manufacturing route and complete-kit BOM. Start with the information already available; open fields can remain clearly marked for review.
Discuss the RFQ