
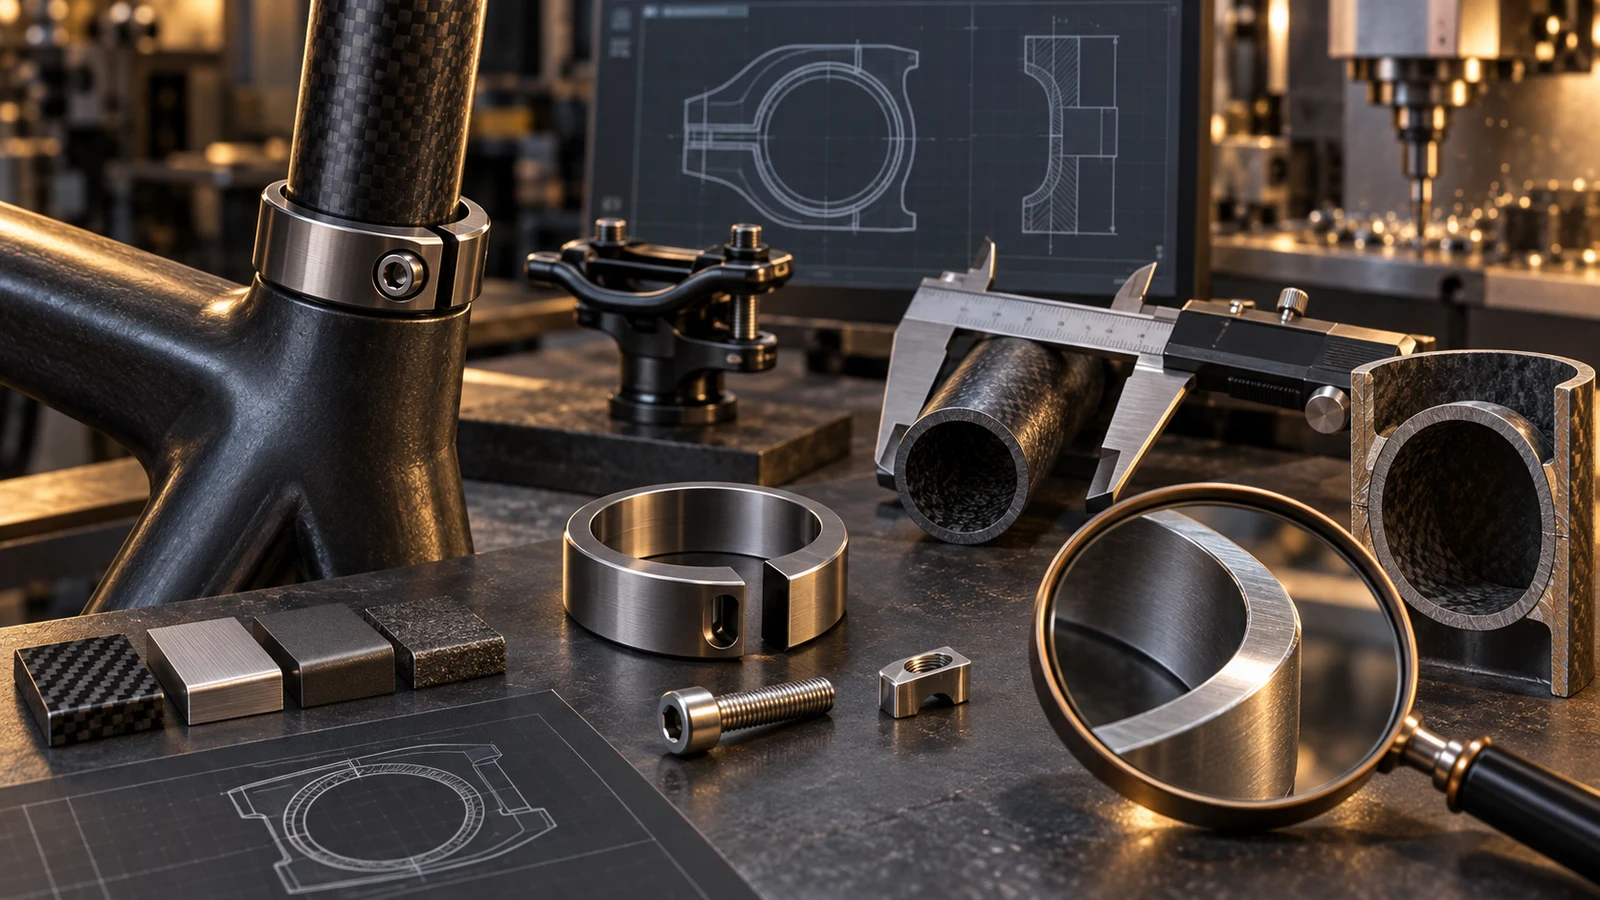
There is no universal torque for a custom seatpost-clamp bolt. Use the applicable requirements for the frame, collar and seatpost together, including fit, preparation and component limits. A bolt strong enough to accept a higher setting does not make that setting safe for the post or frame. For a new OEM clamp, define how the collar produces holding contact and how local damage and post operation will be assessed. If a post slips or a dropper binds, do not treat more tightening as the default remedy. Confirm the represented assembly and relevant instructions before changing bolt material or torque.
Hero: concept illustration of example hardware and its application. It is not a factory photograph, tested component or approved production geometry.
Specify the frame collar rather than the saddle clamp
This decision concerns the collar or binder securing the seatpost within the frame. The saddle-rail clamp is another connection, even when a catalog calls both items a seatpost clamp. Mark the frame-level bolt on the assembly and name the post and collar versions.
Identify whether the frame uses an external split collar, a built-in binder or another defined clamping arrangement. Show any separate nut, barrel, insert or contact piece. A generic pinch-bolt photograph may omit a mating component that determines how the screw loads the clamp.
For an actuated post, keep frame retention separate from the internal mechanism and remote. The dropper hardware guide covers those different locations; this article focuses on the collar contact and its specification.
Match diameter and contact geometry before selecting a setting
Record the post diameter and the receiving frame definition, and identify which diameter belongs to the collar. A collar's stated size is not automatically the post's nominal diameter. Verify the specific mating relationship rather than ordering from a single visible dimension.
Show the contact length, frame slot and required collar orientation where applicable. Identify permitted inserts or shims explicitly; do not introduce them simply because a clamp can be tightened around an uncertain fit. The OEM should resolve the represented contact arrangement before specifying hardware.
Ritchey's carbon-post installation guide calls for checking the fit and removing burrs, sharp edges and contamination at the relevant contacts. That named guidance illustrates why the condition of the interface matters. Its preparation details are not universal instructions for every carbon post or frame.
| Condition or change | Relevant input | Risk of a shortcut | Useful check |
|---|---|---|---|
| Frame-level collar versus saddle clamp | Marked bolt location | Rail-clamp setting copied to frame collar | Correct component and instruction |
| Different post or collar diameter | Post/frame/collar mating definition | More tightening used to hide mismatch | Actual fit and compatible components |
| Carbon or locally sensitive contact | Edges, contact length and limits | Stronger bolt assumed to prevent damage | Represented contact and OEM acceptance |
| Changed preparation or screw finish | Permitted conditions at both interfaces | Same torque assumed to mean same result | Location-specific assembly specification |
| Post sliding in frame | Retention observation and installation state | All movement blamed on bolt strength | Applicable support and contact review |
| Dropper returning slowly | Post version and symptom timing | Every slow return diagnosed as over-clamping | Maker's model-specific troubleshooting |
Separate holding requirements from local damage limits
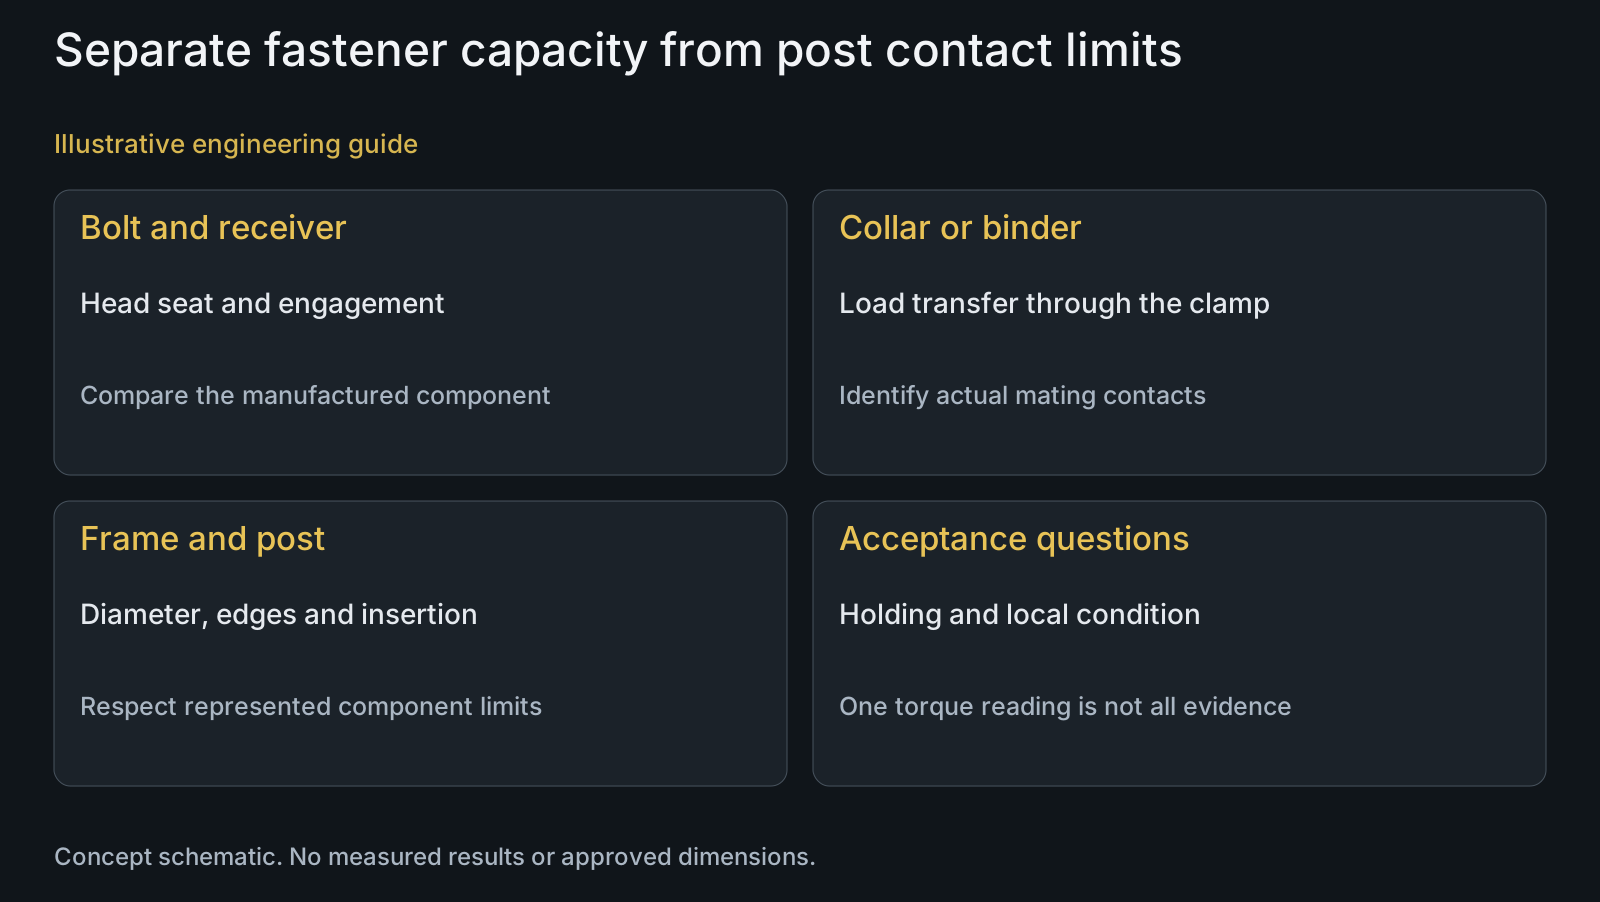
Engineering analysis: the bolt loads the collar, and the collar transfers that action through its actual contacts to the frame/post interface. Bolt tension is therefore not itself a measurement of contact pressure everywhere around the post. Contact geometry and local edges affect how the load is distributed.
A higher-strength bolt may expand the bolt's own available capacity without changing the allowable condition of the clamped members. Treat bolt conformity, post holding and absence of harmful local contact as separate questions. Do not describe stainless or titanium as a universal cure for clamp damage.
For a custom design, the responsible OEM should specify the represented assembly and acceptance checks for retention, contact condition and any required post operation. Discuss candidate materials against those requirements. No permitted pressure, holding force or material ranking is established from the clamp name alone.
Keep the torque requirement with preparation and component limits
The applicable requirement must identify the frame, collar and post combination. Ritchey's carbon-post guide refers to the frame/binder manufacturer's value while also stating limits for its own post configurations. Do not extract one number and apply it to a different combination.
If component documents appear to conflict, obtain clarification from the responsible manufacturers or OEM. Do not select the higher number, average the settings or silently assume that meeting one limit satisfies every component's requirement. A maximum is also not automatically a suitable target for an unidentified joint.
Document the permitted surface preparation and screw assembly condition with the instruction. Friction changes at the screw and at the post contact are different changes. A custom torque-specification review should identify the intended conditions rather than use a material-only conversion rule.
Investigate slipping or binding without an automatic torque increase
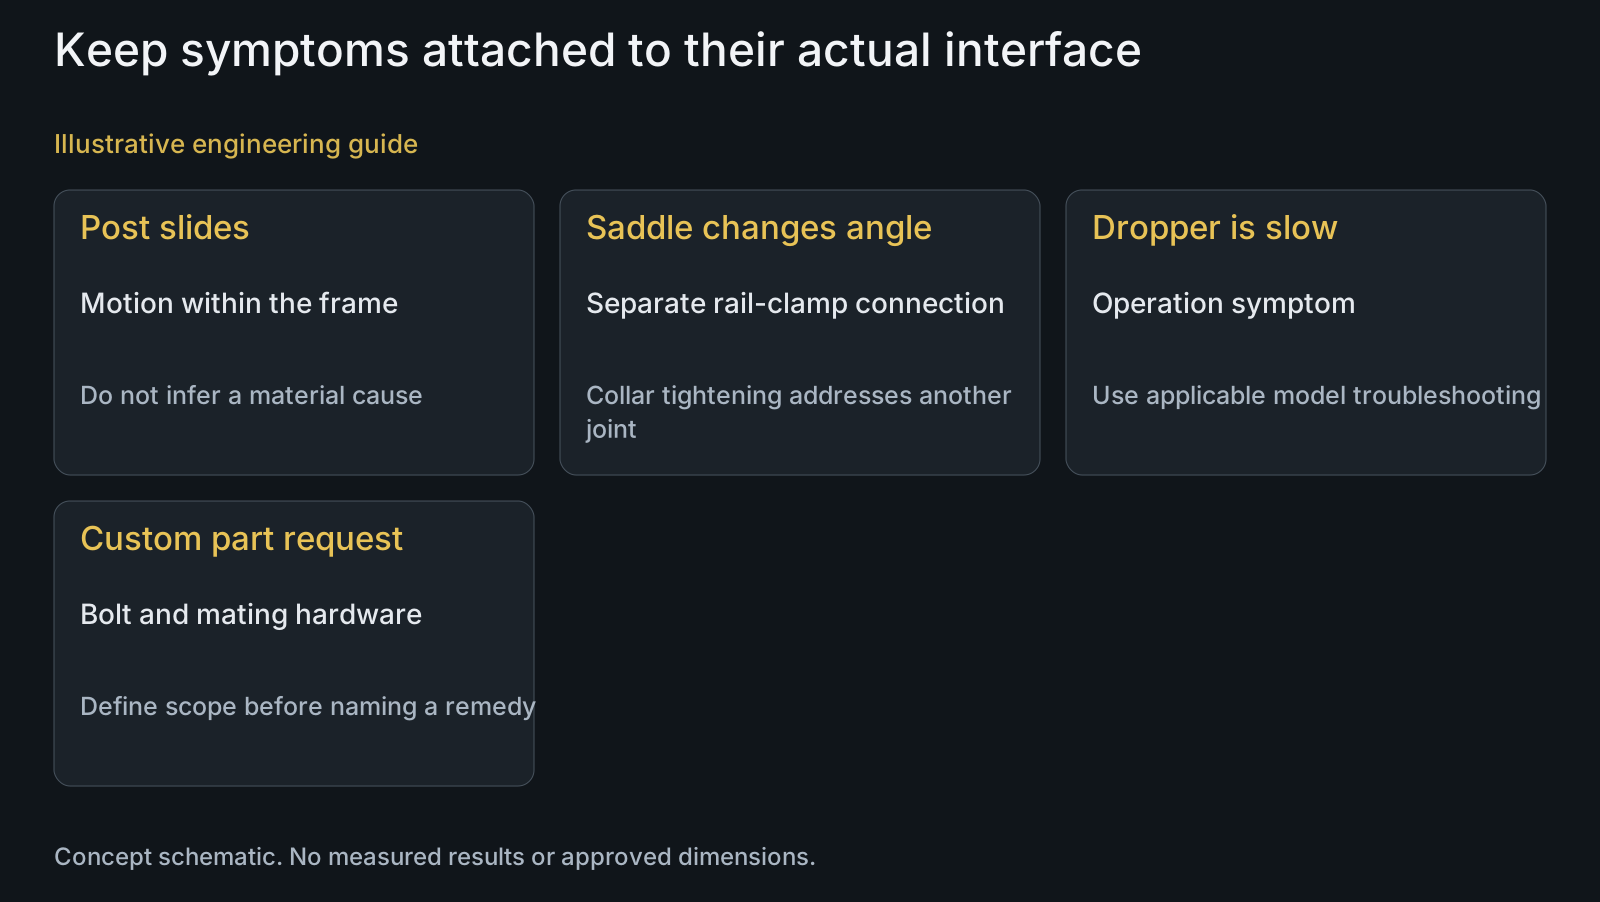
Describe the observation precisely: the post slides within the frame, the saddle rotates at its rails, or the dropper returns slowly. These reports do not identify the same contact or failure. Preserve the installed component identities and any recent collar or hardware change.
OneUp's V2 dropper FAQ includes collar torque among several checks for slow extension. This is a model-specific troubleshooting example, not proof that every slow post is over-clamped. Use the relevant manufacturer's support information; do not publish a universal loosening or re-tightening remedy.
For an OEM hardware inquiry, separate observed symptoms from confirmed causes. Compare bolt head contact, mating nut or insert, receiver depth and the supplied final surface. CNC turning and surface treatment can address a defined part, but manufacturing conformity alone does not diagnose the installed assembly.
Review example: a stronger bolt leaves the contact question open
Illustrative engineering example: assume an OEM changes from a rigid metal post to a carbon post in a frame using an external collar. The team proposes a titanium bolt and a higher setting to address reported post movement. No measured retention, contact pressure or damage result is assumed.
The reviewer checks the represented diameters, collar/contact condition, permitted preparation and applicable component requirements. It compares the new bolt's head and receiver separately. A stronger fastener does not establish the carbon post's permissible contact condition or explain the movement.
The proposal becomes a defined clamp-and-post review rather than a material substitution presented as a fix. The OEM can identify the required evidence and custom part definition without claiming that the higher setting solves the issue or that a generic torque range is safe.
Questions buyers need to confirm
Is a 5 to 7 Nm range suitable for every seatpost-clamp bolt?
No. Use the applicable frame, collar and post requirements, including preparation and limits. That range is not a universal specification. A new design needs an OEM-controlled basis for the represented joint rather than a setting inferred from its name.
Does a stronger titanium bolt permit a higher clamp setting?
Not by itself. The bolt's capacity and the allowable condition of the post/frame contacts are separate constraints. Define material and geometry for the bolt, then evaluate the complete clamping arrangement and component requirements.
What dimensions matter besides screw diameter?
Include the head seat, threaded length, receiver depth and associated nut or insert. For the assembly, identify post/frame fit, collar mating diameter, contact length and orientation where specified. These fields distinguish a compatible clamp definition from a bolt that merely threads in.
Should carbon assembly paste always be used?
Do not apply a universal rule. Follow the exact component instructions for the represented interface. Where preparation is specified, retain it with the assembly requirement; changing it alters the defined condition and does not authorize exceeding component limits.
Does slow dropper return mean the collar is too tight?
Not necessarily. Collar torque is one check in some named manufacturer guidance, alongside other possible causes. Identify the post and symptom and use its troubleshooting information. Do not treat the symptom alone as a confirmed clamp diagnosis.
What should a custom seat-collar hardware RFQ include?
Send frame, collar and post identities, marked part location, drawings, STEP or samples and BOM. Include mating diameters, contact geometry, bolt seat/receiver, material and final surface, applicable preparation and assembly requirements. Describe any symptom separately from an unconfirmed cause.
Technical references and scope
Ritchey Carbon Seatpost Installation Guide. Named fit, edge/contamination, preparation and frame/binder torque with post-limit distinctions. No numeric setting or universal carbon installation rule transferred.
Ritchey WCS Carbon Zero Seatpost. Distinct saddle clamp and seat collar requirements for a named component. No general torque or compatibility claim.
OneUp V2 Dropper Frequently Asked Questions. Collar torque appears among multiple slow-extension checks. Not a diagnosis for another post or a universal repair procedure.
Explore related component, material and sourcing decisions in the customer decision knowledge center. For a drawing review, use the Drawing/BOM RFQ path.
Define the bolt with the collar and post it clamps
Share the frame, collar and seatpost definitions, a marked assembly view, component drawings, STEP or samples and BOM quantities. Include mating dimensions, head and receiver contacts, final material and finish and the applicable assembly requirements. PremFixer can review custom hardware manufacture while the responsible OEM controls clamp compatibility and product acceptance.
Discuss the drawing and BOM